Fuente:
http://linhost.info/2009/08/vmware-add-second-disk-to-a-windows-virtual-machine/
If make use of virtual machines as much as I do, then you will be in
need of more storage space and at the same time running out of space.
One way to expand the storage capacity of a virtual machine is to add a
second virtual disk.
For this tutorial I will be adding a 50GB virtual hard disk to a
Windows Server 2003 virtual machine. The instructions should apply to
all versions of VMware Workstations and VMware Player, the instructions
will also work with all versions of Windows.
ADD THE SECOND disk
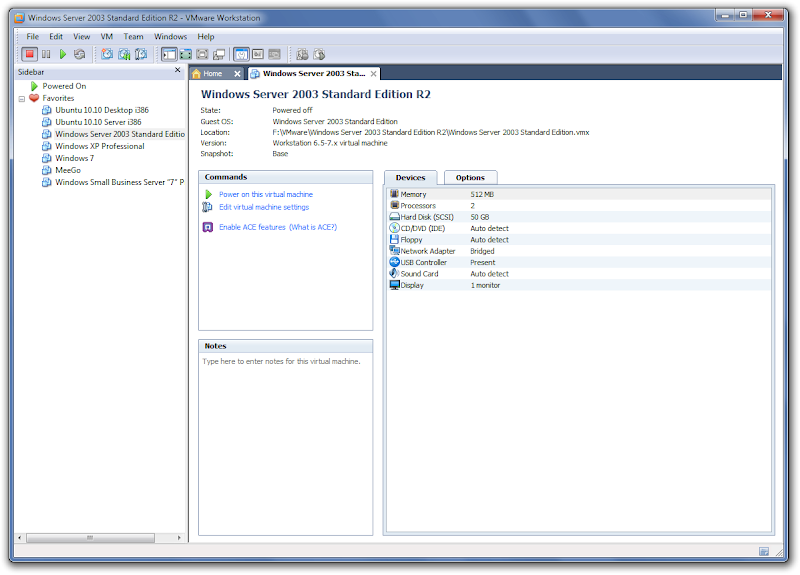
Start VMware Workstation and select the virtual machine you wish to add the second disk. Click on
Edit virtual machine settings.
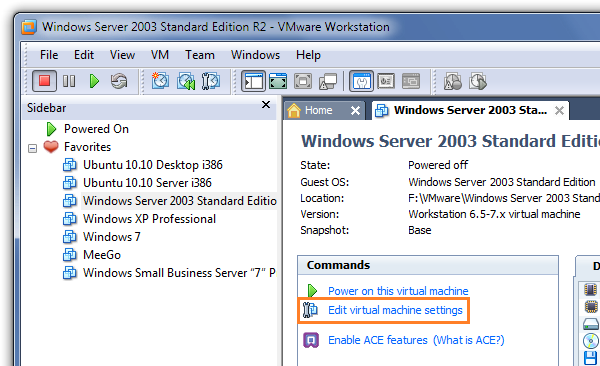 Click on image to enlarge
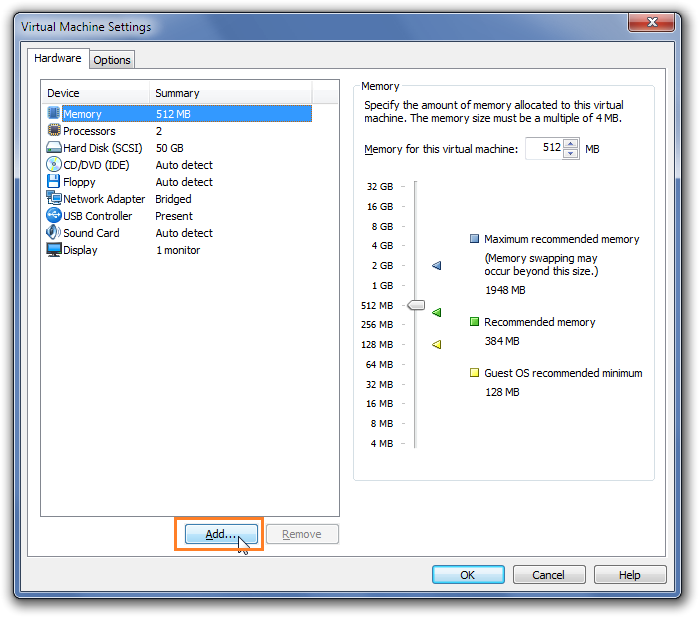
A new window will open. Click on
Add button at the bottom.
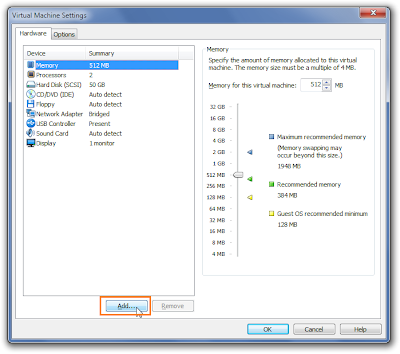 Click on image to enlarge
Now the
Add Hardware Wizard window will present you with several options. Click on
Hard Disk and then click on
Next.
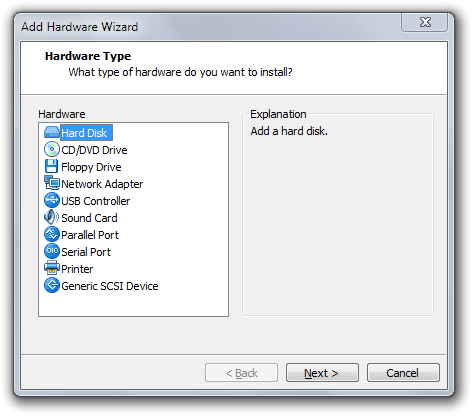
Select
Create a new virtual disk and then on
Next.
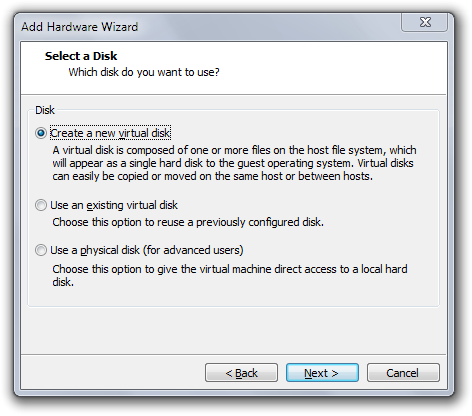
Usually, VMware Workstation will suggest a type of virtual disk. In this case the suggested type is
SCSI (Recommended) and click on
Next.
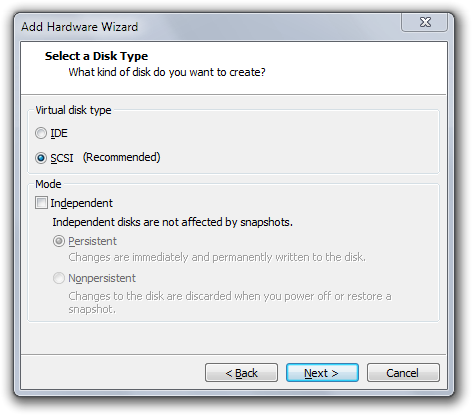
Choose the size of the virtual disk you wish to create in GB. My preference is to choose to
Store virtual disk as a single file and click on
Next.
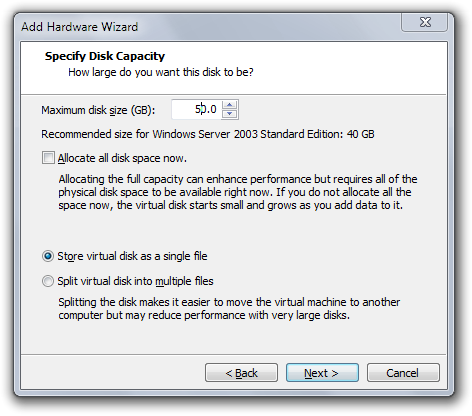
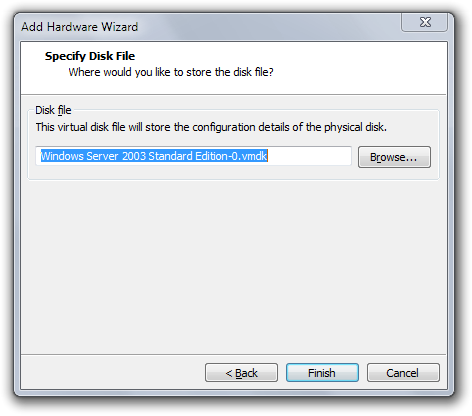
Now just tell it where to store the new disk file and click on
Finish. I would recommend going with the default, keep all files in the same place.
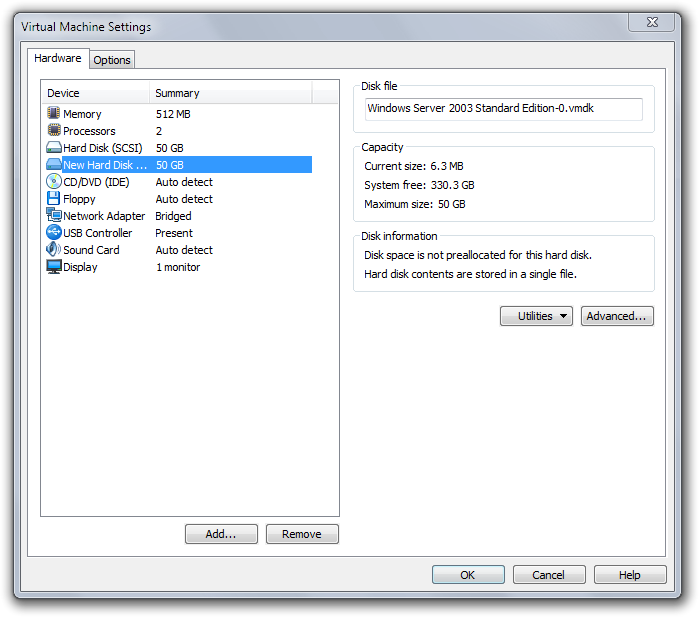
Again you are presented with an overview of the system configuration. Notice how the new second disk, click on
Save to preserve the changes.
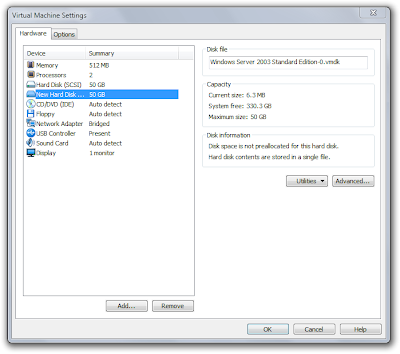 Click on image to enlarge
INITIALIZE THE NEW DISK
If you boot the virtual machine the new virtual disk will not appear
under windows. You have to make use of a Windows utility called
compmgmt.msc which will allow us to manage(initialize, format) the new disk.
You will need administrative privileges
Click on
Start >
Run and type
compmgmt.msc and then hit
OK.
This will bring a new window, click on
Next to continue.
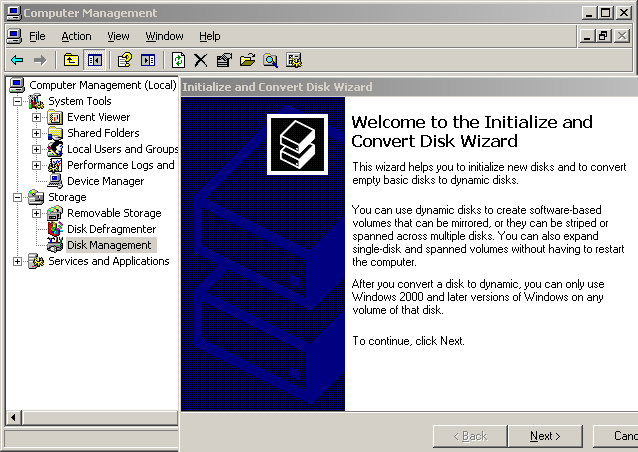
Here you are being asked which disk you want to initialize. The C
disk is know as disk 0, using logic we know that our new disk will be
known as disk 1. Check
Disk 1 and click on
Next
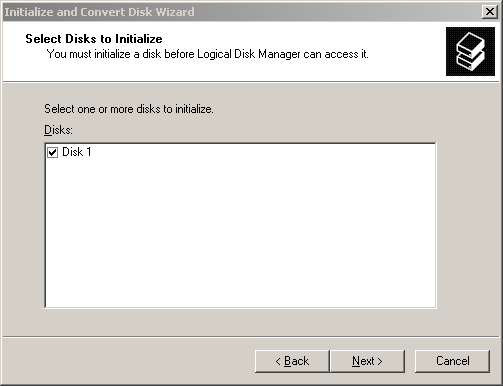
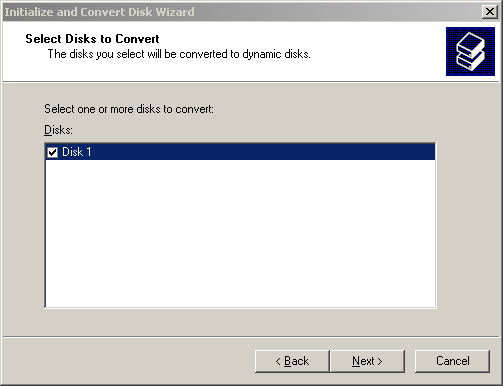
Select the disk you want to convert. Of course, we want to convert Disk 1. Check on Disk 1 and click on
Next.
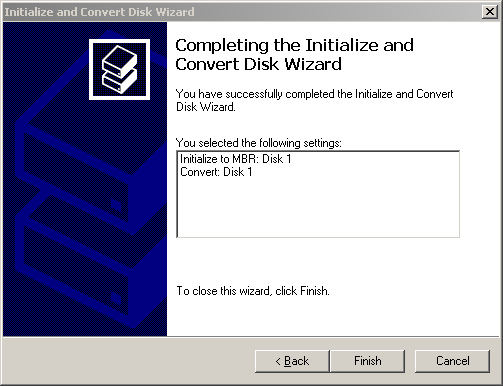
Now the wizard is giving you an overview of whats about to be done to the disk. If you are OK with the changes click
Finish.
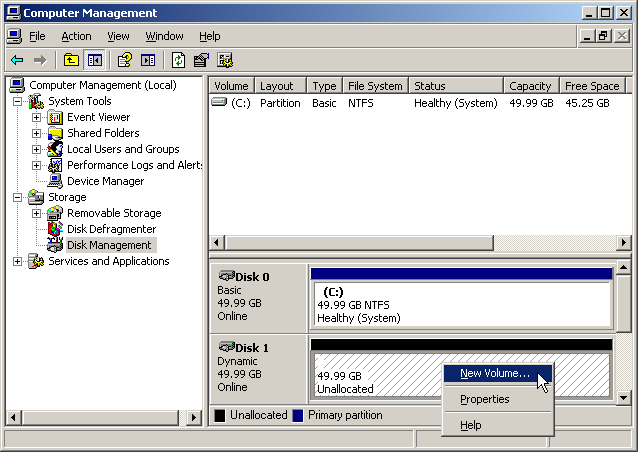
We still have some work to do before we can use that new disk. Now right click on the unallocated volume(Disk 1) and select
New volume….
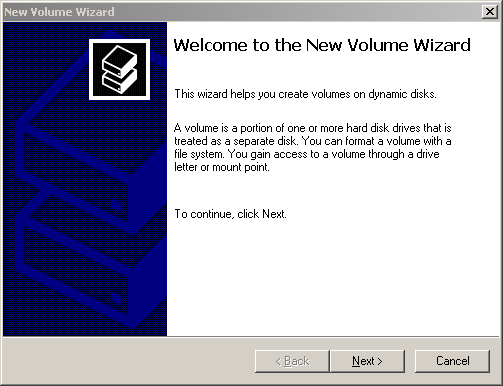
Click
Next on the New Volume Wizard.
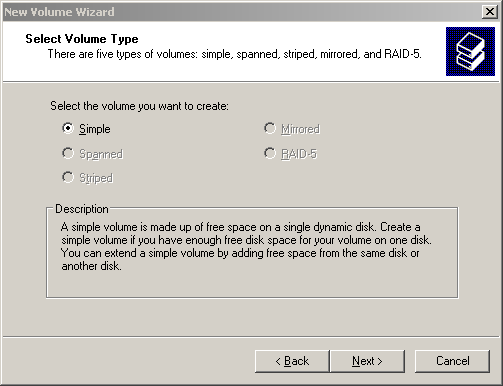
Select the volume type. In this case
Simple and click on
Next.
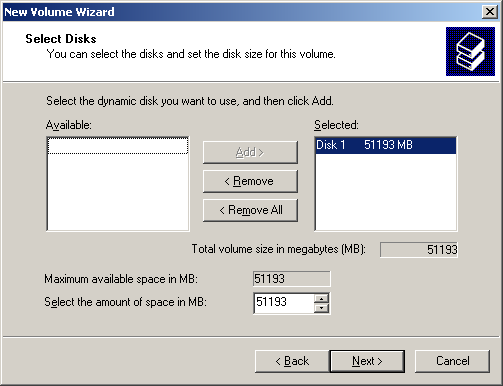
In this screen you are being asked to select the disk and disk size. I want to use all of the available space, just click on
Next to continue.
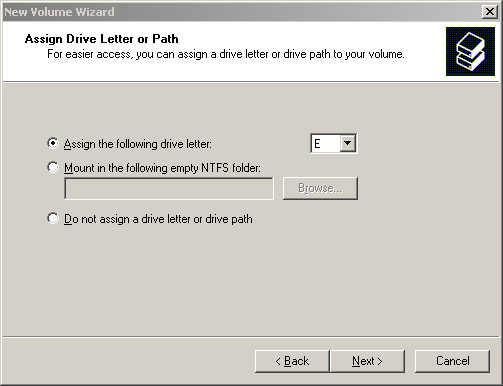
Just accept the default disk letter and click on
Next.
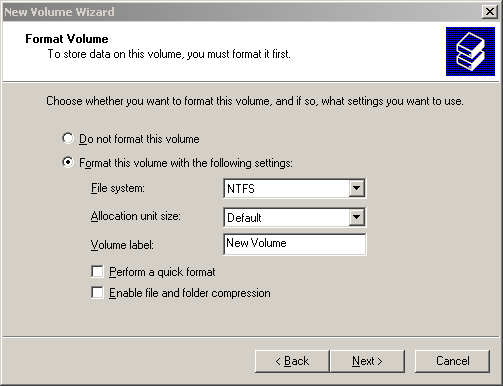
Now this is important. You are being asked whether you want to format
the disk with NTFS and the volume label. Don’t be lazy like me, give
the Volume Label a proper name. Then just hit
Next.
Again you are being presented with an overview of whats about to be done with the disk. If you agree, click on
Finish.
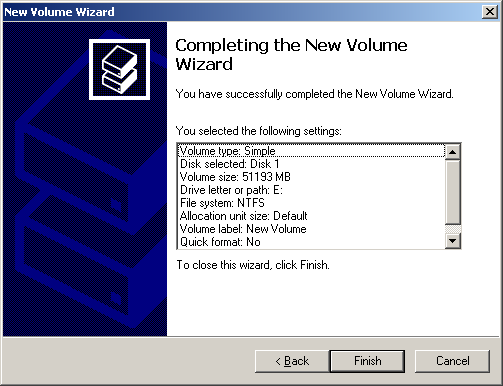
The new disk will now be formatted, allow for some time.
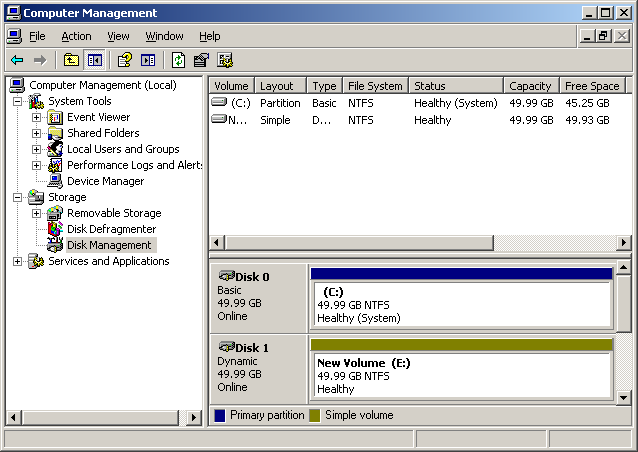
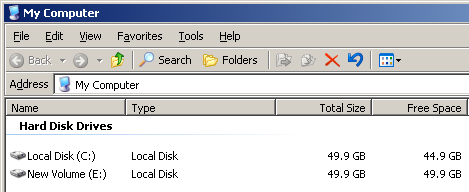
After the formatting is done you can close the window and go to
Start >
My Computer and you should be able to see the new disk with the assigned letter
E.